14 Easy Braided Ponytail Hairstyles for Beginners
Braiding your own hair feels awkward at first because your arms tire, you cannot see the back of your head, and the plait drifts off-center. A braided ponytail is the easiest place to learn. The ponytail holds the hair in position, so you only have to braid one section instead of building a whole style.
Every look below is picked for beginners. Each one tells you what to expect, who it flatters, who may find it frustrating, and how long it takes. Most need nothing beyond a brush, a few clear or fabric-covered elastics, and a small tub of styling product.
Table of Contents
1. Classic Three-Strand Braided Ponytail
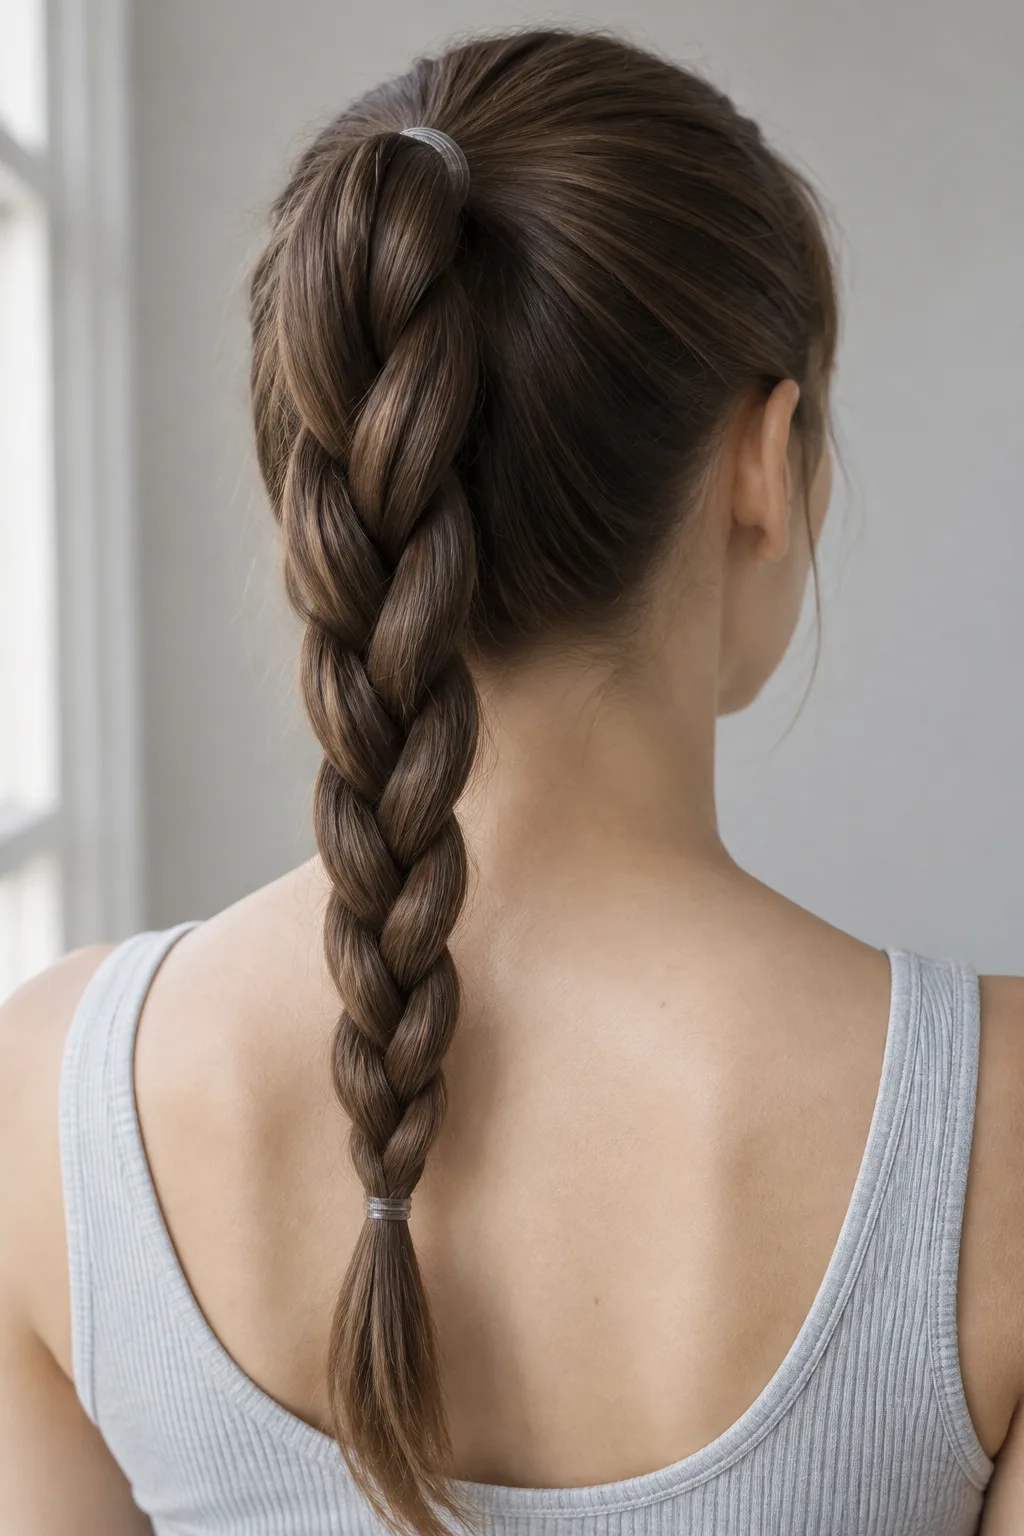
Gather your hair into a mid-height ponytail, split it into three equal sections, and cross the right strand over the middle, then the left over the middle, until you reach the ends. It suits shoulder-length hair and longer, and it is the style to learn first because every other braid here builds on it. It does not work on a cut shorter than about 5 inches below the elastic, since the braid will not have enough length to hold.
Set aside about 10 minutes the first few times, which drops to around 5 once your hands know the rhythm. Use a small clear elastic at the bottom and a second one hidden under a wrapped strand at the top. Re-tighten and smooth flyaways with a drop of hair oil each morning, and expect the braid to last one day before it loosens.
2. Simple Fishtail Braided Ponytail
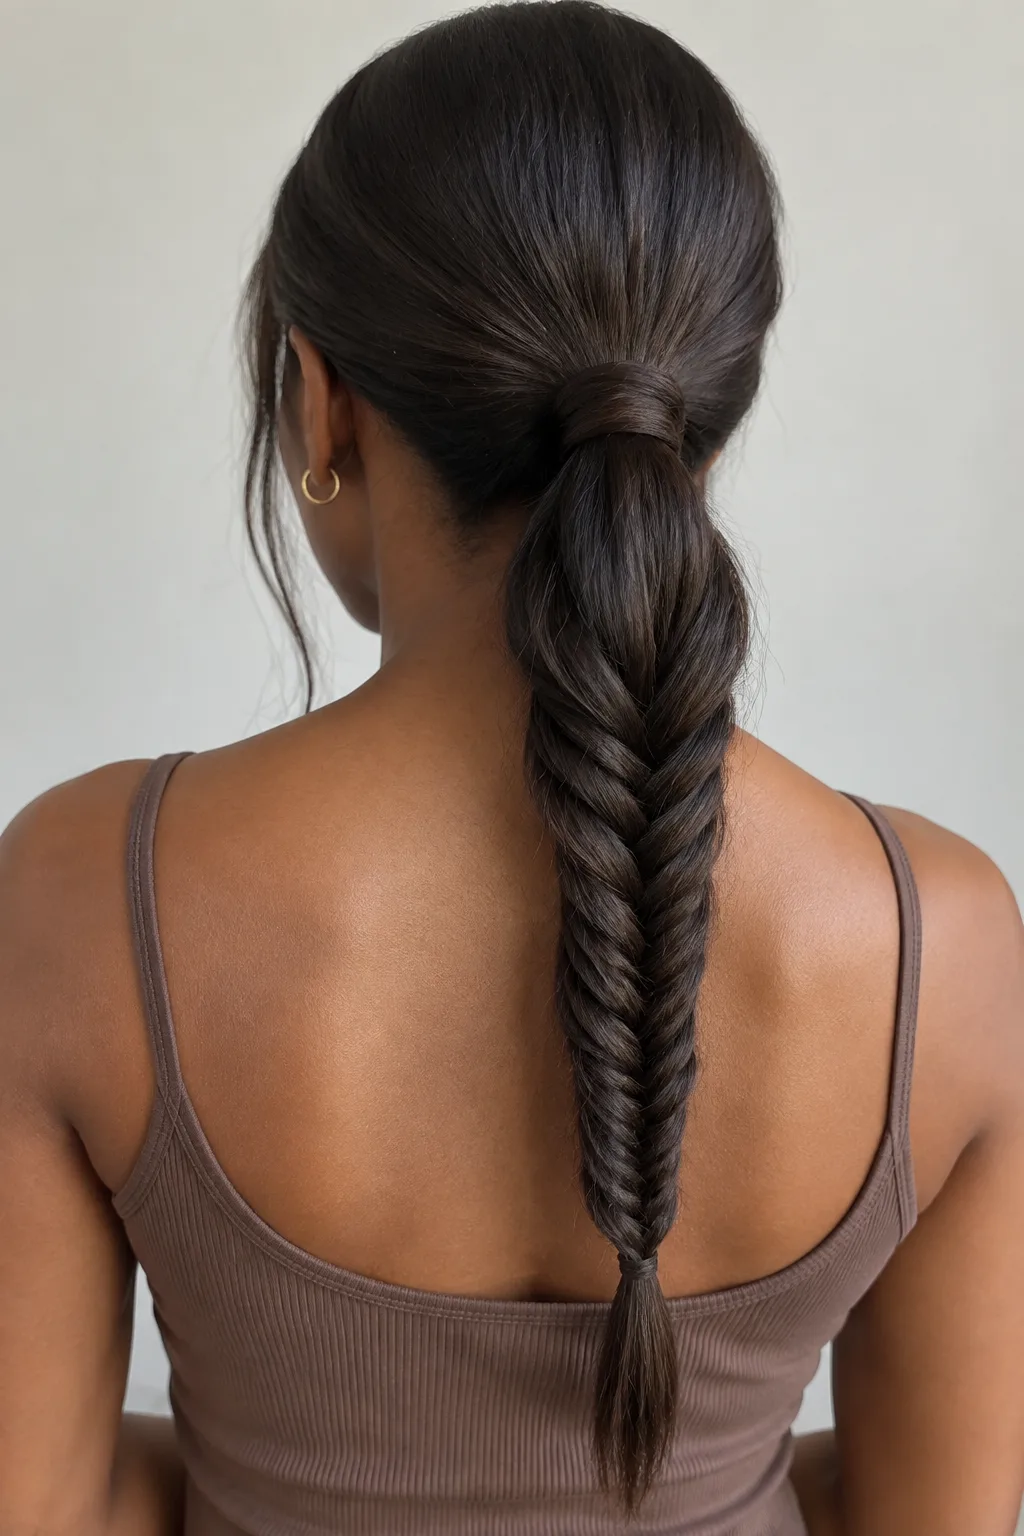
A fishtail uses two sections instead of three. You pull a thin strand from the outside of one half, cross it over to join the other half, and repeat on the opposite side. It suits medium to long straight or wavy hair, where the tight, scaled pattern shows clearly. It is harder on very fine, slippery hair that will not hold small strands, and on very short layers that keep poking out.
Budget 10 to 15 minutes at first. Take strands about half an inch wide, because thinner ones look neater but take longer. Finish with a small elastic and gently tug each side of the braid to loosen it for a fuller look. A texturizing spray before you begin gives fine hair the grip it needs.
3. Dutch Braid Into a High Ponytail
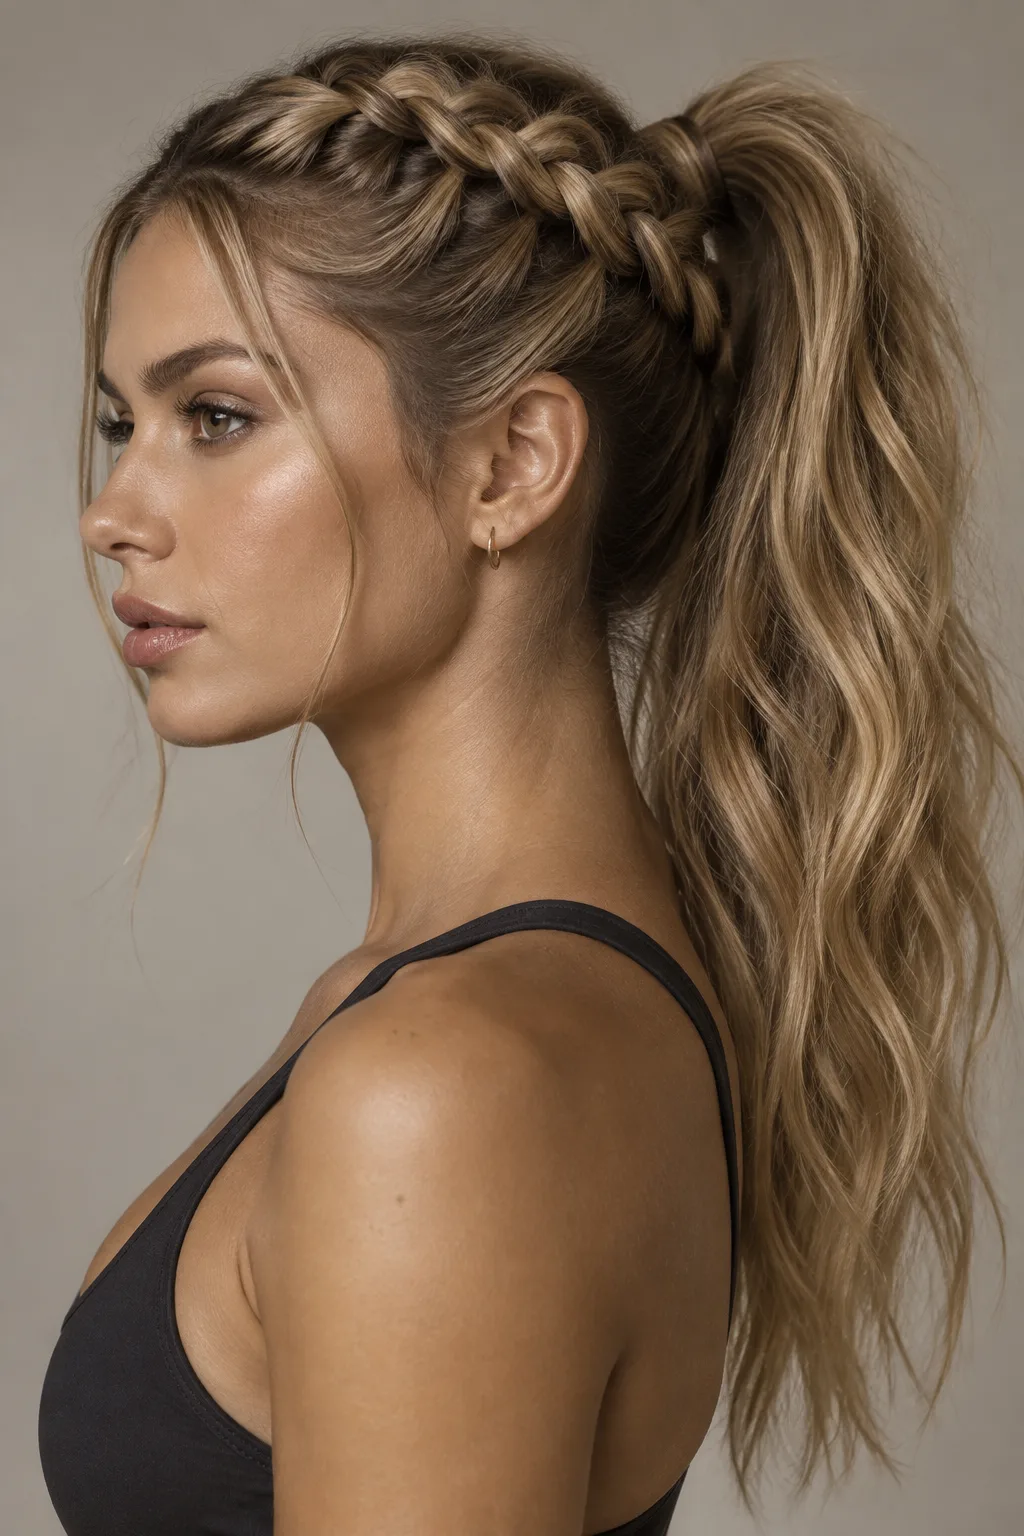
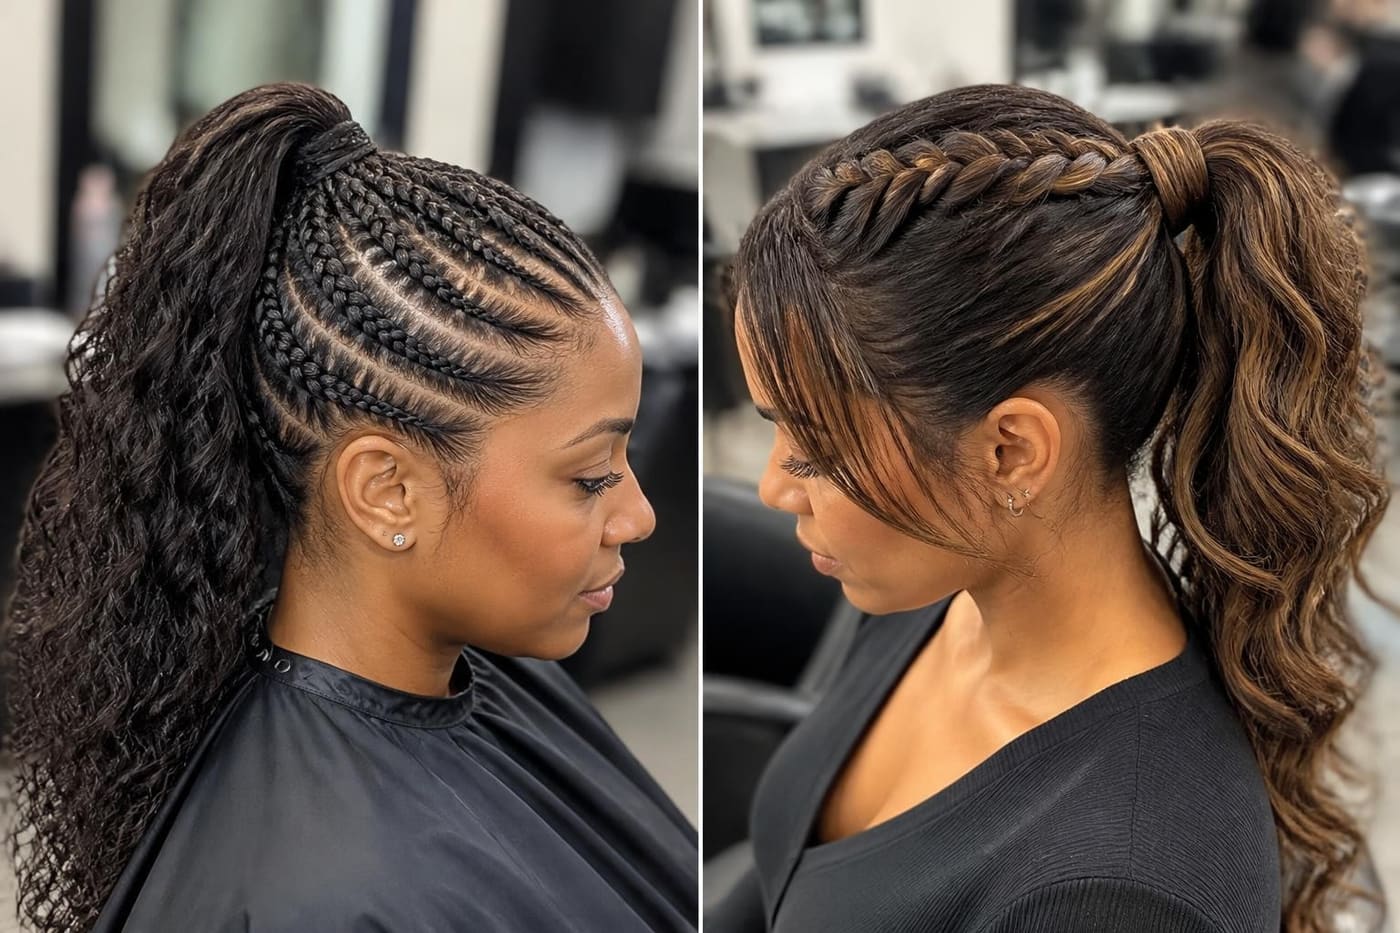
A Dutch braid crosses the strands under rather than over, so the plait sits raised on top of your head. Start at the hairline, braid back to the crown, and tie everything into a high ponytail. It suits medium to thick hair and oval or round faces, since the lifted crown adds height. It is a poor fit if your hairline is fragile or thinning at the temples, because a high, tight braid pulls on those spots.
Allow about 15 minutes. Practice on a friend or a mannequin head first if the underhand motion confuses you. Keep the tension firm but not painful, and take the braid out at night. Wearing it more than two or three days a week can stress the same sections of hair, so rotate with looser styles.
4. French Braid Into a Low Ponytail
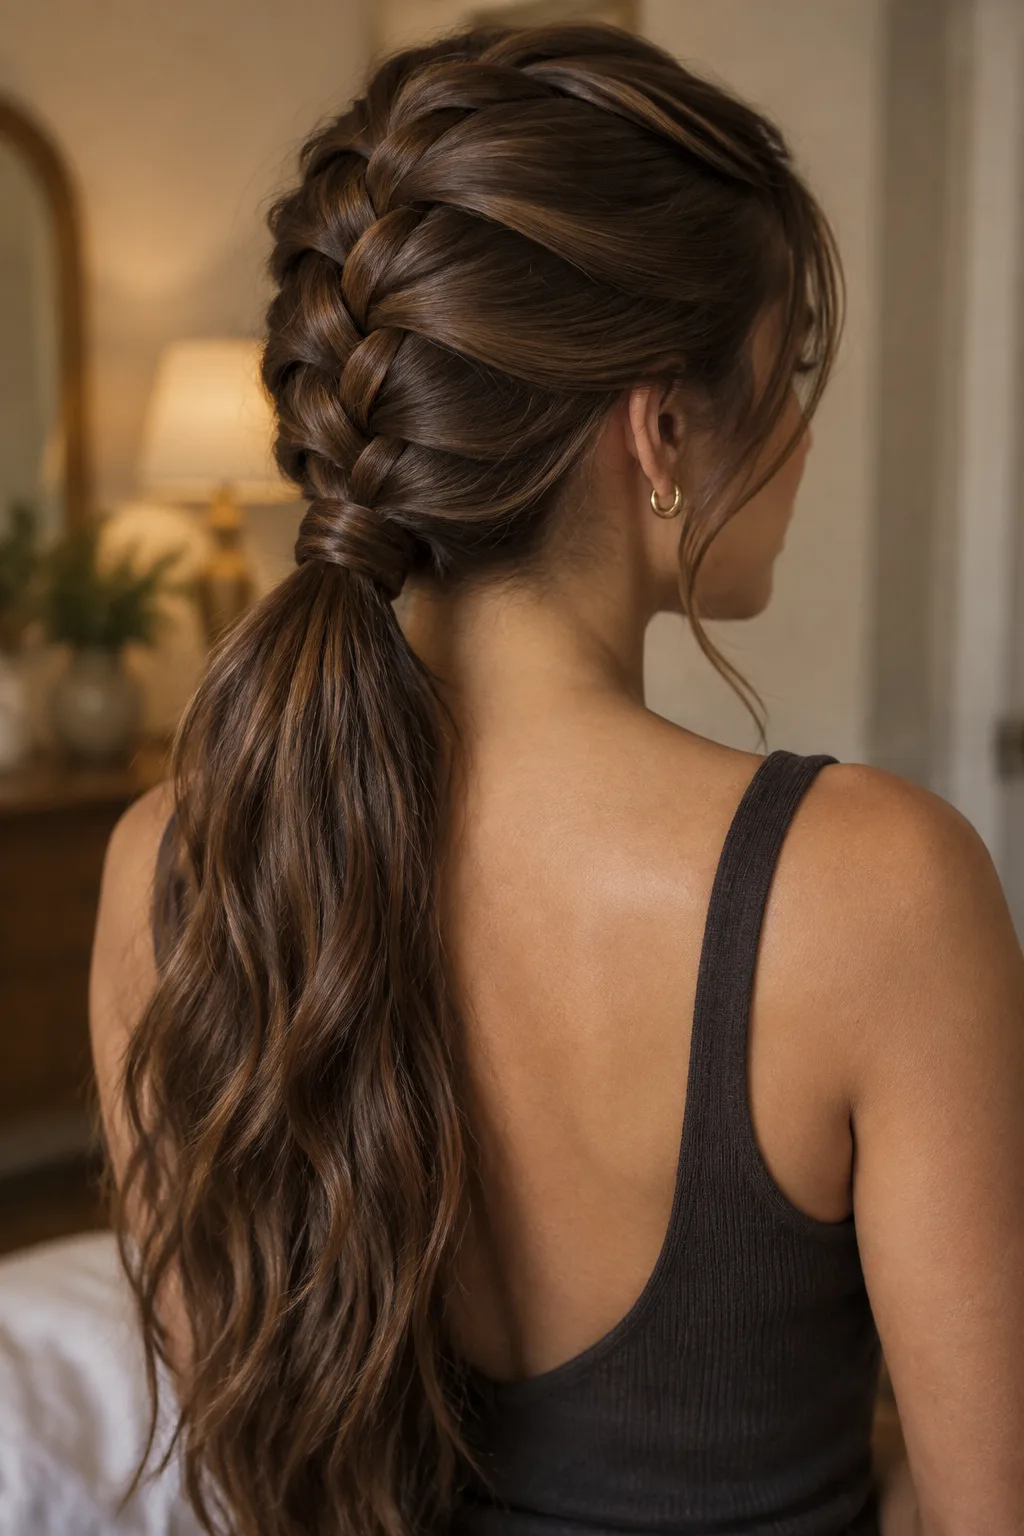
Begin a French braid at the crown, adding a small piece from each side as you cross, and stop at the nape to gather everything in a low ponytail. It suits long or shoulder-length hair of any texture and works well under a helmet or hood because it sits flat. It is trickier if you have a lot of short layers around the face, which slip free and need pins.
Plan on 10 to 12 minutes. A fine-tooth comb helps you part the sections cleanly, and a few bobby pins hold stray pieces near the ears. Spray a flexible-hold hairspray lightly over the finished braid. It stays neat for about 8 hours, then you can leave it in overnight with a satin scrunchie.
5. Low Ponytail With a Wrapped Braid
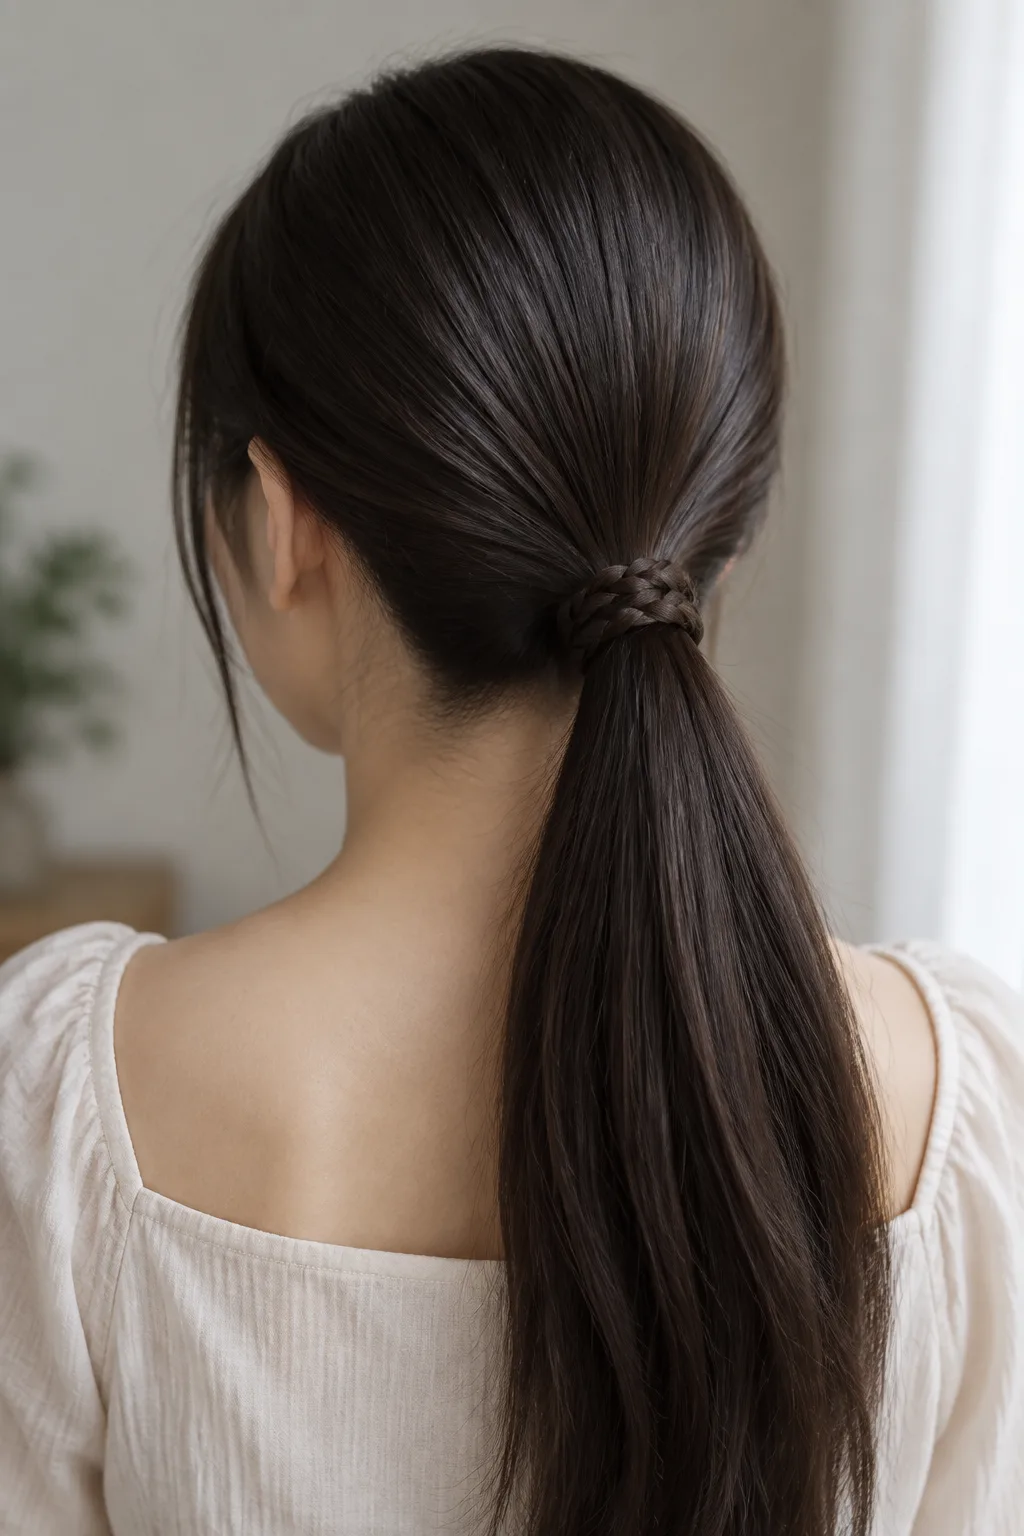
Make a low ponytail, braid a thin section from underneath, and wrap that braid around the elastic, pinning the end underneath. It hides the hair tie and gives a finished look with only one small braid to make. It suits any length from just past the shoulder, and it is a good first choice if you struggle with long braids. It does not suit very fine hair, where the pinned braid can look thin.
This takes about 5 minutes. Use one bobby pin that matches your hair color, and slide it in at an angle so it grips the base of the ponytail. Keep a spare pin in your bag, since the wrapped braid can slip after a long day of movement.
6. Side Braided Ponytail

Sweep your ponytail over one shoulder and braid it there, so you can see your hands in a mirror. That is the main reason beginners find it easy. It suits long hair and anyone who wants the braid to frame the neckline and collarbone. It is less useful if you have a very short cut, or if you need your hair completely off your shoulders, such as for work in a kitchen or lab.
Give it 8 to 10 minutes. Braid loosely, then pull gently at the edges of each loop for a wider plait. Add a drop of lightweight oil to the last 2 inches to stop split ends from catching. Redo the braid every day, since slept-on side braids tend to tangle.
7. Half-Up Braided Ponytail
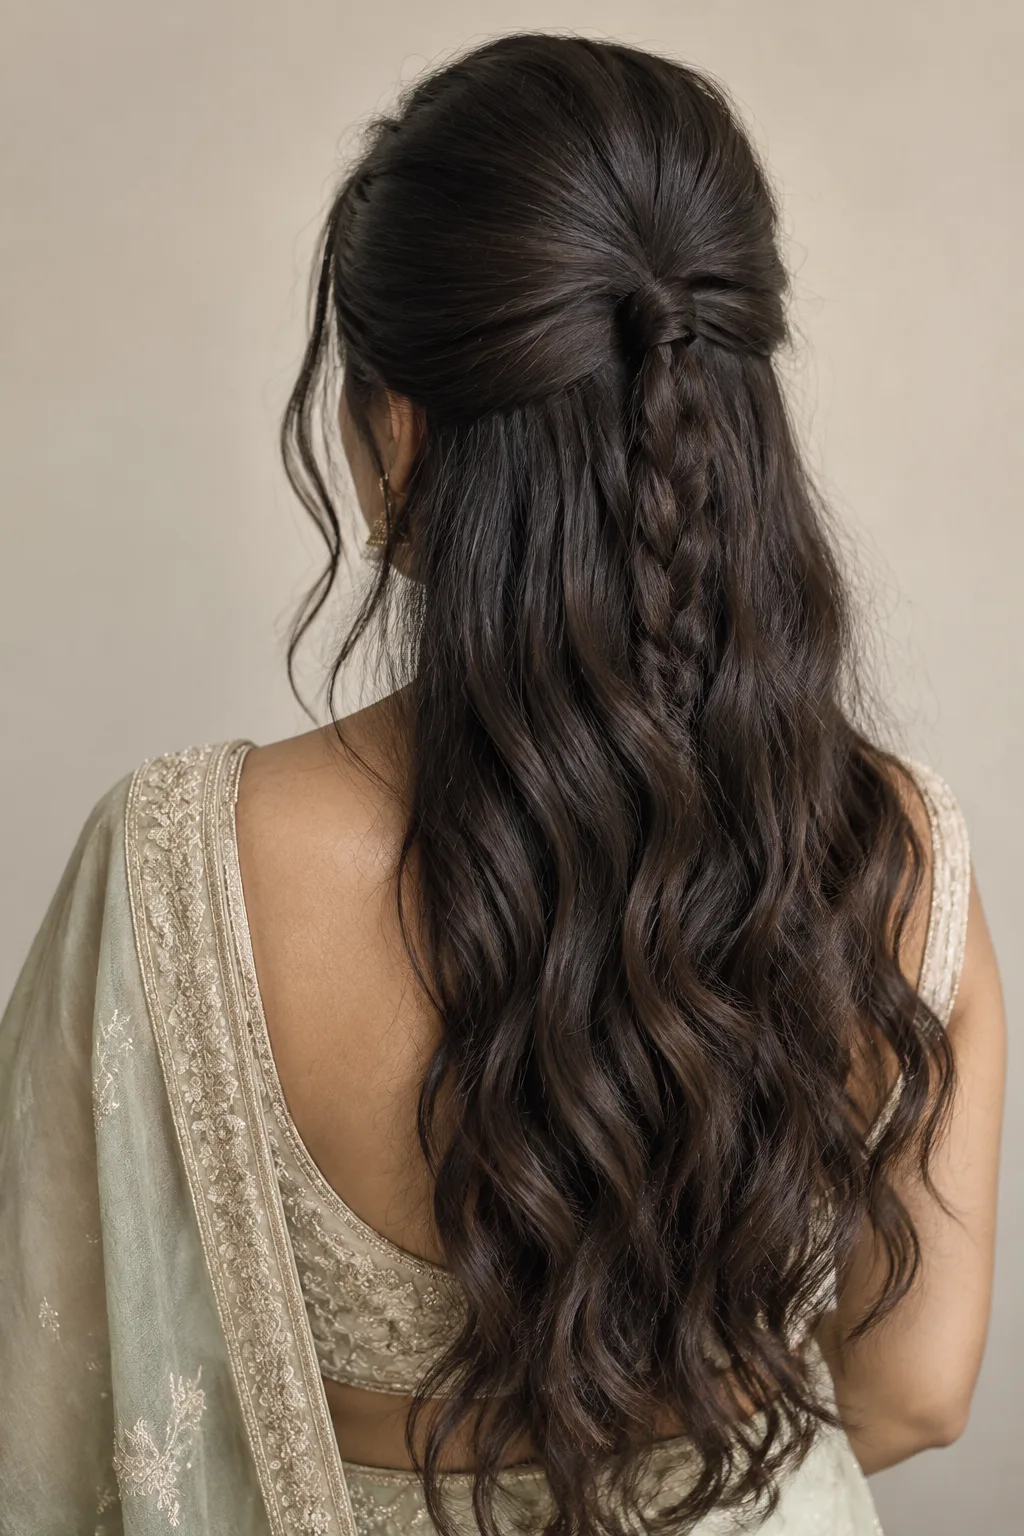
Take the top section of your hair, tie it into a small ponytail at the crown, and braid it, leaving the rest loose. It suits medium to long hair, and it is a good choice if you want to keep length down but away from your face. It does not suit people who need all hair secured, such as for sports, and it shows less on very short hair.
It takes only 5 to 7 minutes. Use a small elastic and let the braid fall over the loose hair. For thick hair, split the top section into two ponytails and braid each separately, so they stay neat. Brush the loose lengths once before you leave, and the style holds for most of a day.
8. Braided Crown Ponytail
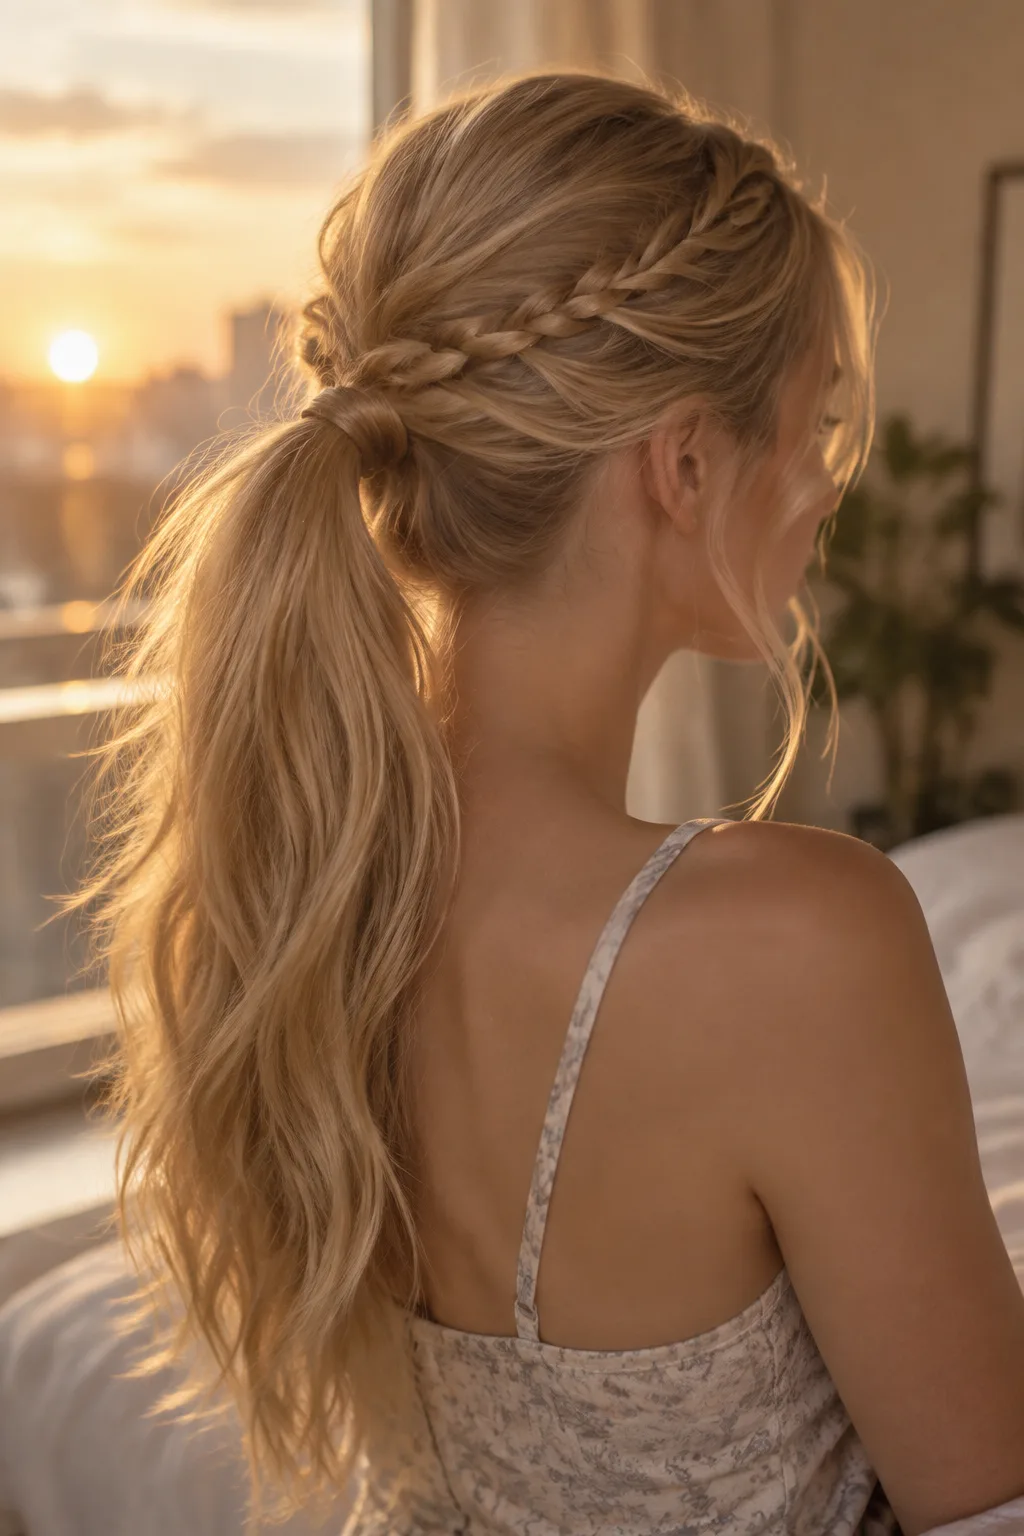
Make two small braids at your temples, sweep them across the back of your head, pin them together, and tie the rest into a ponytail beneath. It suits long to mid-back hair, where the braids reach across without needing extensions. It is a poor match for hair above the shoulders, because the braids will be too short to meet at the back.
This is a slightly longer routine of about 15 minutes. You need 6 to 8 bobby pins and a small elastic. Start with dry, brushed-through hair and braid each side right to the ends. Pin from the inside so the pins hide beneath the braid, and expect it to last 8 hours or more.
9. Rope Braid Ponytail
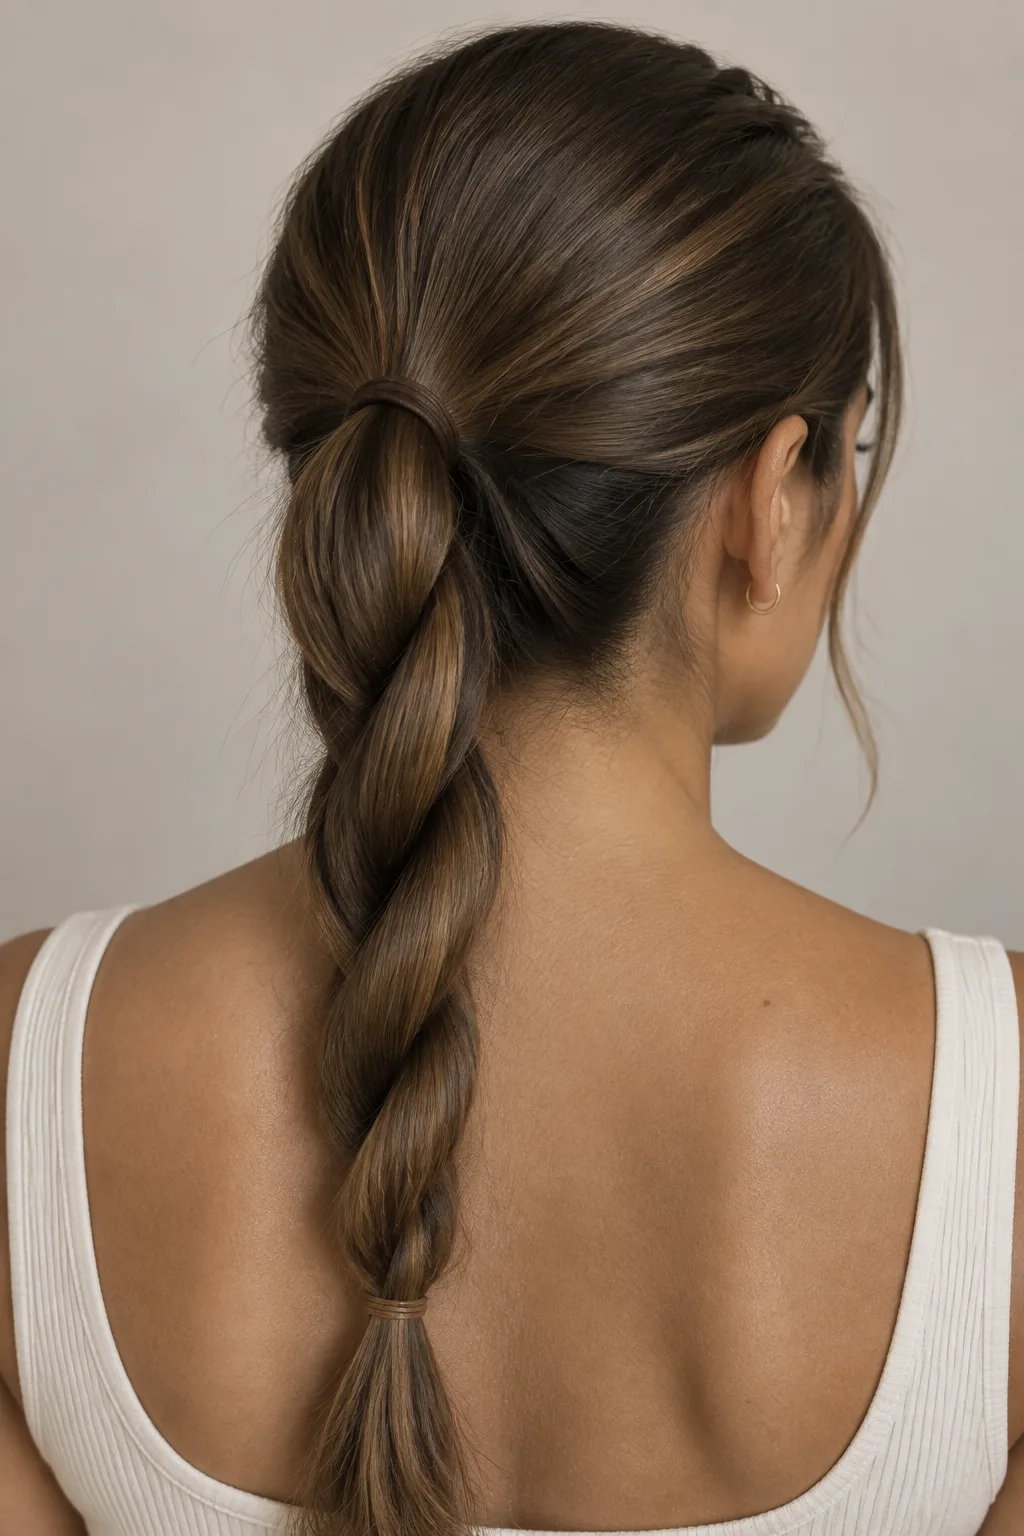
A rope braid has two strands that you twist in one direction and wrap around each other in the opposite direction. There is no weaving, so it suits anyone who cannot yet manage three strands. It works on medium to long hair of most textures. It is harder on very fine or slippery hair, which untwists without a strong elastic at the end.
It takes about 5 minutes. Twist each section tightly clockwise, then wrap them counterclockwise, and fasten the bottom before letting go. Use a small snag-free elastic and mist the ends with a light hairspray. Rope braids hold their pattern for about a day, but may loosen sooner on straight hair.
10. Braided Bubble Ponytail
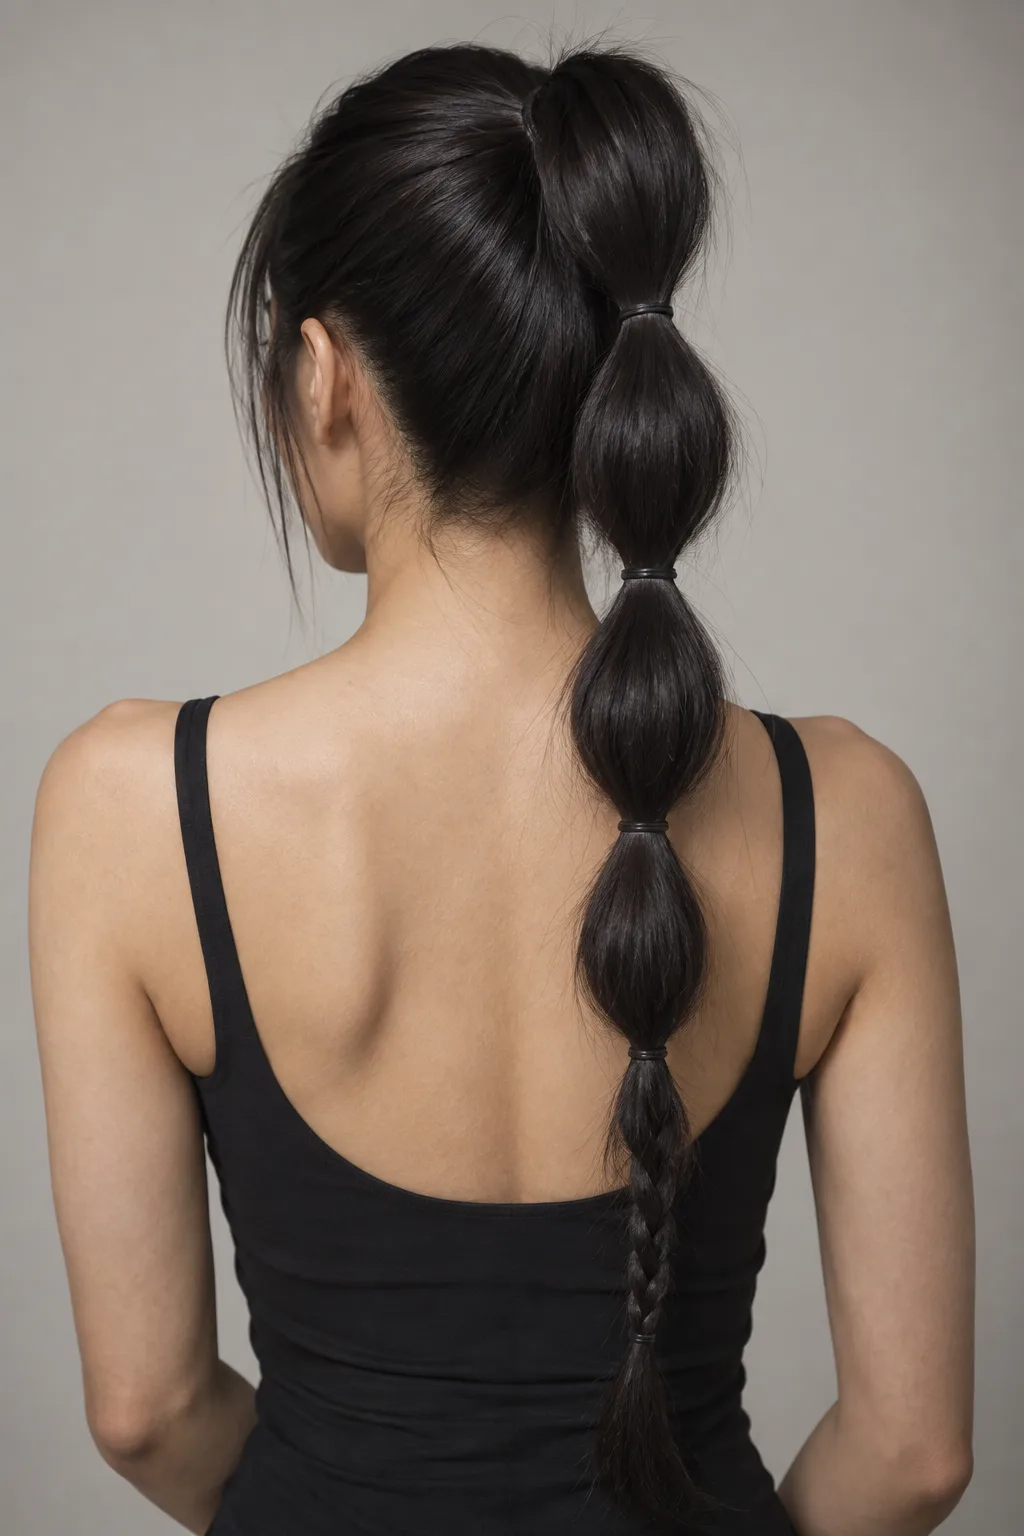
Tie a braid into sections with small elastics every 2 to 3 inches, then gently pull the braid outward between each tie to make rounded bubbles. It suits medium to thick hair, which fills the bubbles well, and it is a fun style for kids and teens. It looks sparse on fine hair, and it needs a lot of length to create more than two or three bubbles.
Plan for 15 to 20 minutes and a pack of 4 to 6 small clear elastics. Pull each section from the outside edges, not the center, to avoid breaking strands. Cut elastics out with small scissors, not by pulling, when you take it down, and detangle gently with a wide-tooth comb.
11. Curly Hair Braided Ponytail
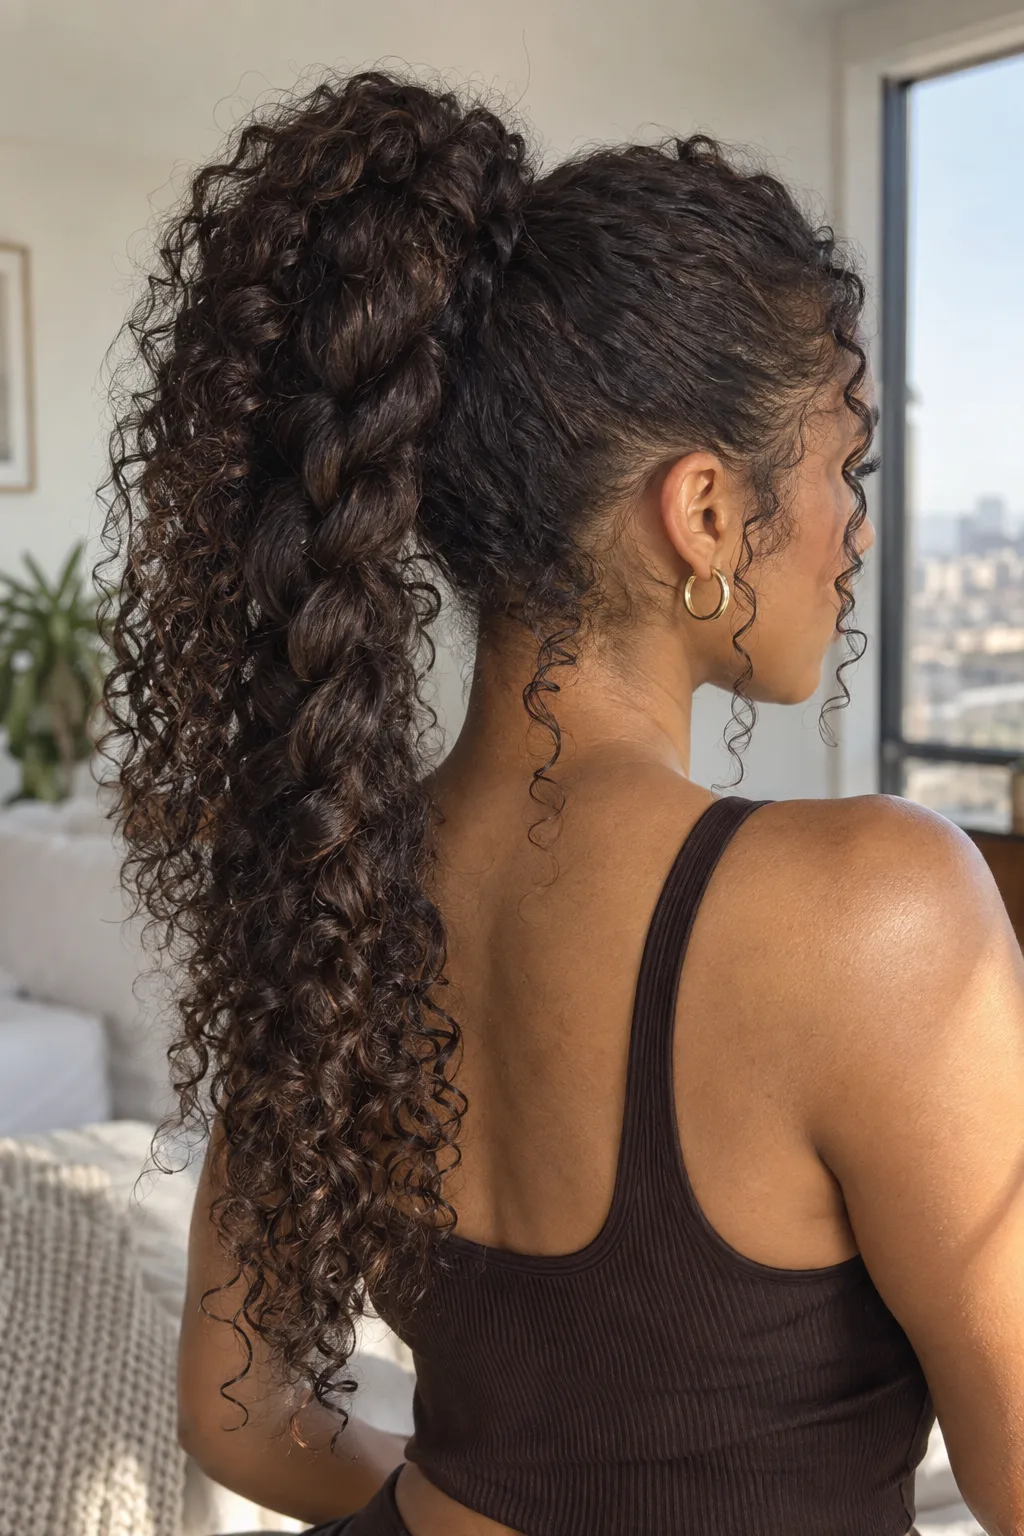
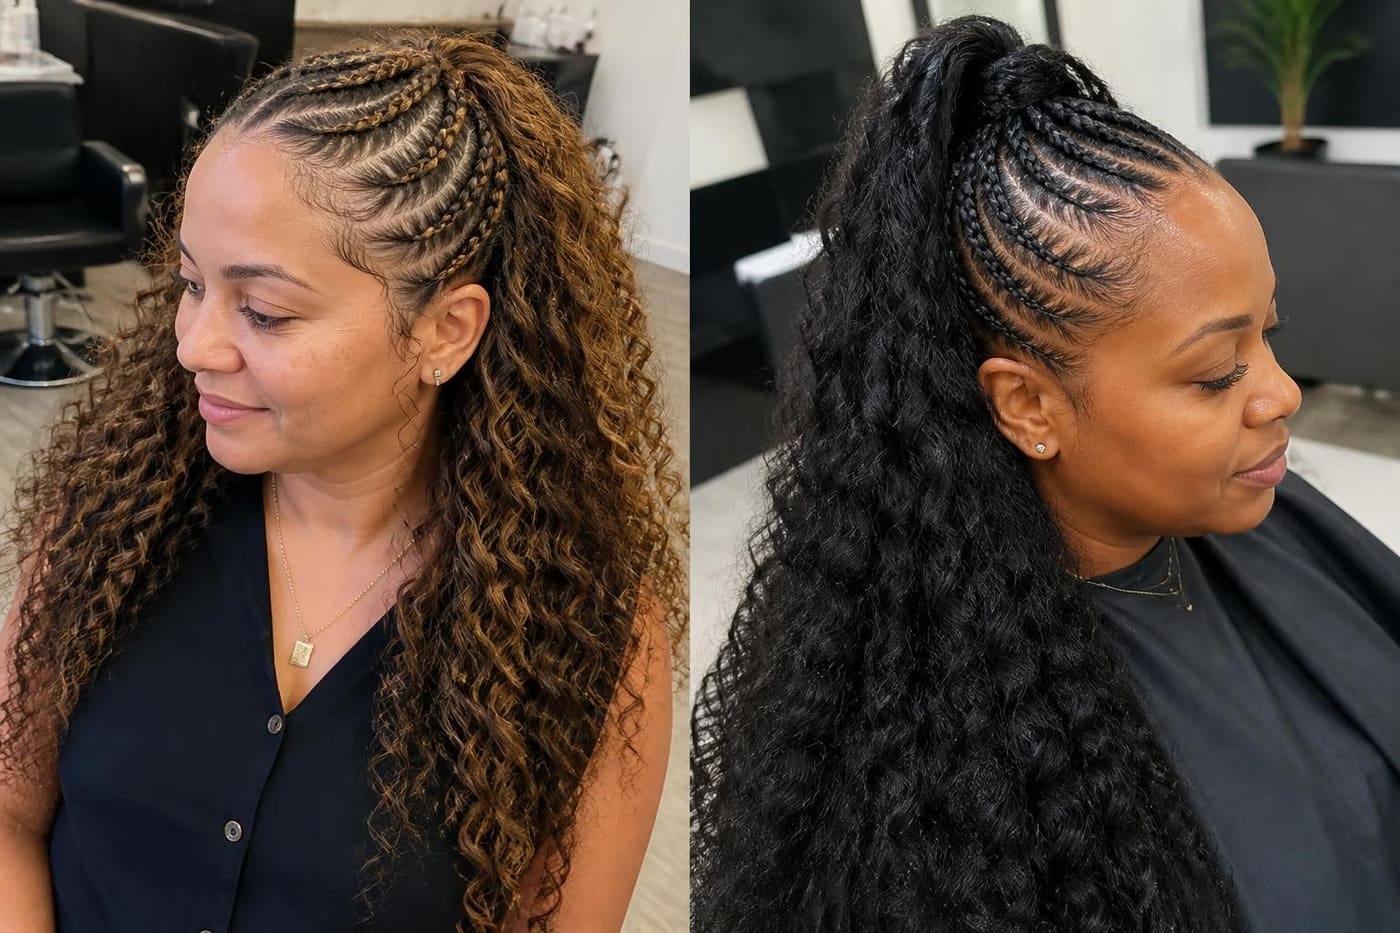
Curly and coily hair holds a braid well because the texture grips itself. Apply a leave-in conditioner or curl cream to damp hair, then braid a ponytail loosely so the curls stay defined. It suits Type 3 and Type 4 hair of medium length or longer. It is not ideal on bone-dry hair, which tangles and frizzes as you braid, so work in sections while hair is damp.
Plan on 15 minutes, and use a wide-tooth comb or your fingers instead of a brush. Fasten with a fabric-covered elastic, since thin rubber snags curls. At night, loosen the braid and cover it with a satin bonnet. Refresh with a spritz of water and a little curl cream every 2 to 3 days.
12. Sleek Braided Ponytail With Hair Wrap
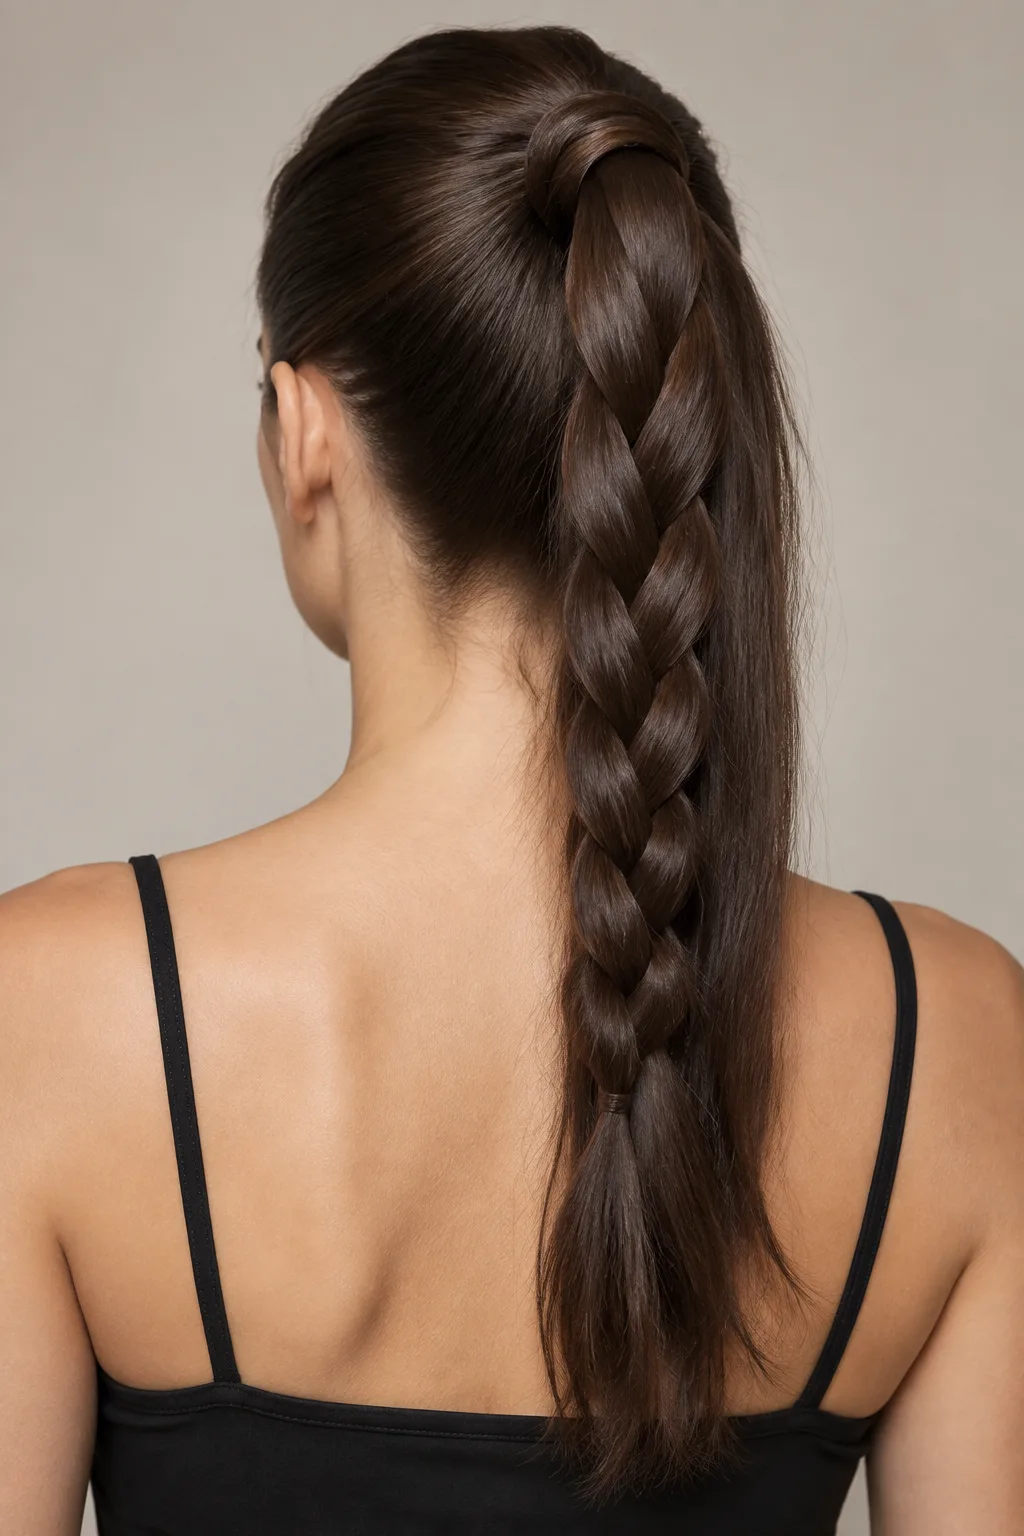
Smooth your hair into a high or mid ponytail, wrap a thin section around the elastic to hide it, then braid the length tightly. It suits straight and wavy hair that is easy to smooth, and it holds up well for a long workday. It is harder on layered or very curly hair, which tends to escape the smooth surface.
The whole style takes about 10 minutes. Use a boar-bristle brush and a small amount of smoothing gel or pomade along the part and sides. Keep the braid firm, and finish with a light mist of hairspray. It lasts a full day, but tight styles worn daily can cause tension, so loosen the elastic when you are home.
13. Braided Pigtail-Style Double Ponytails
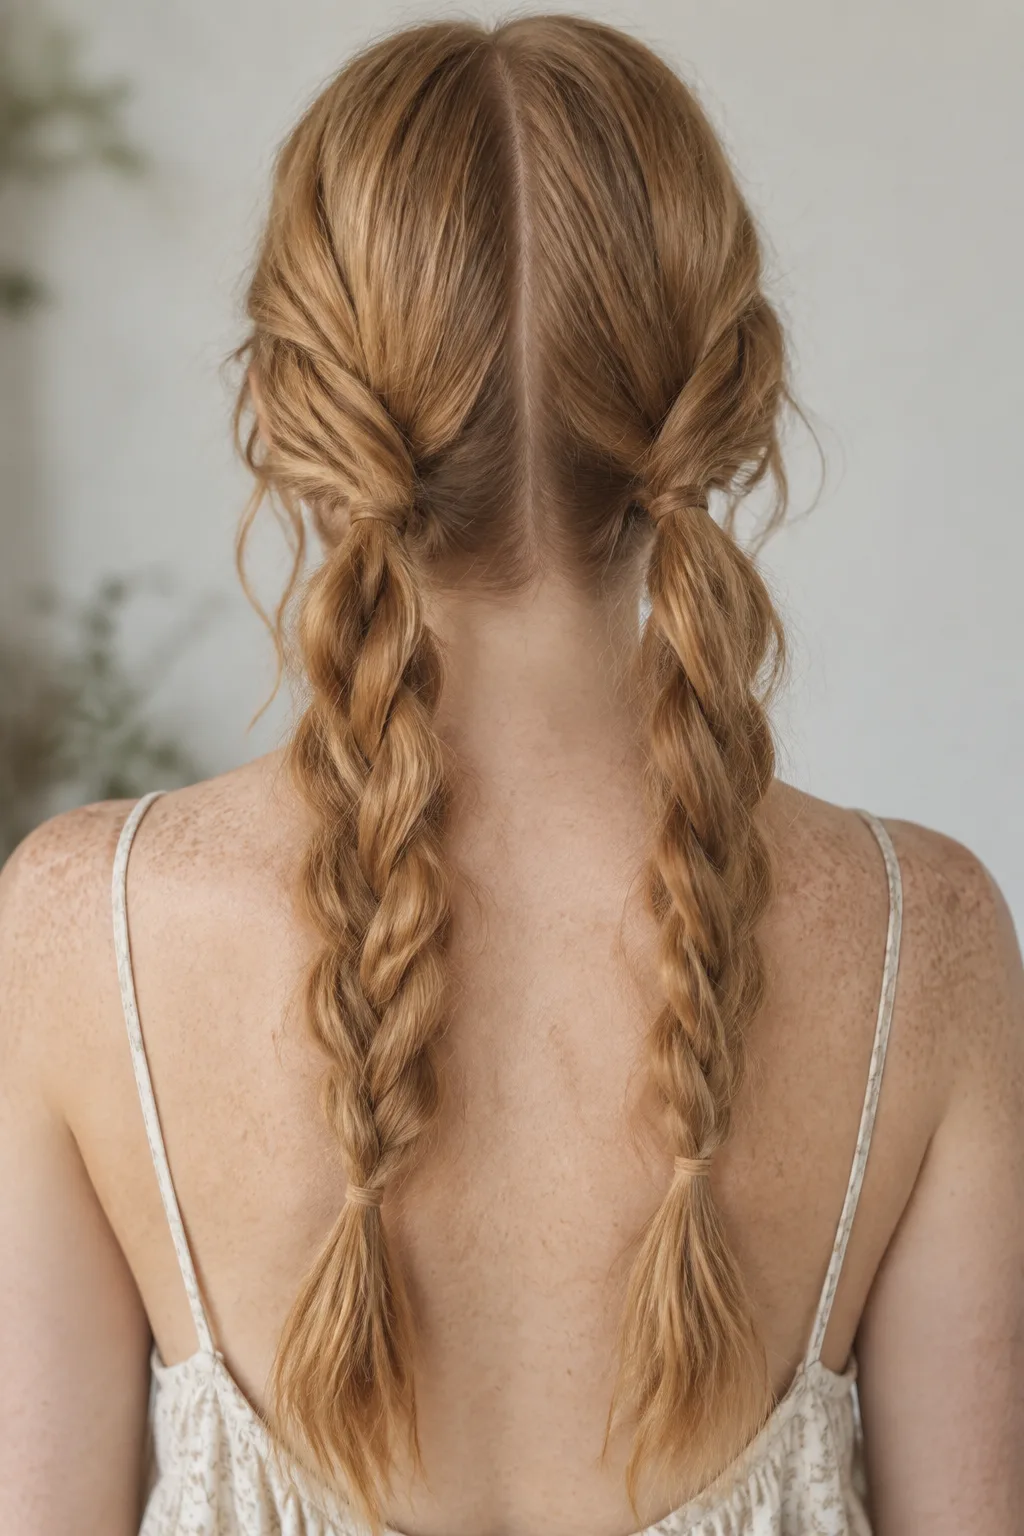
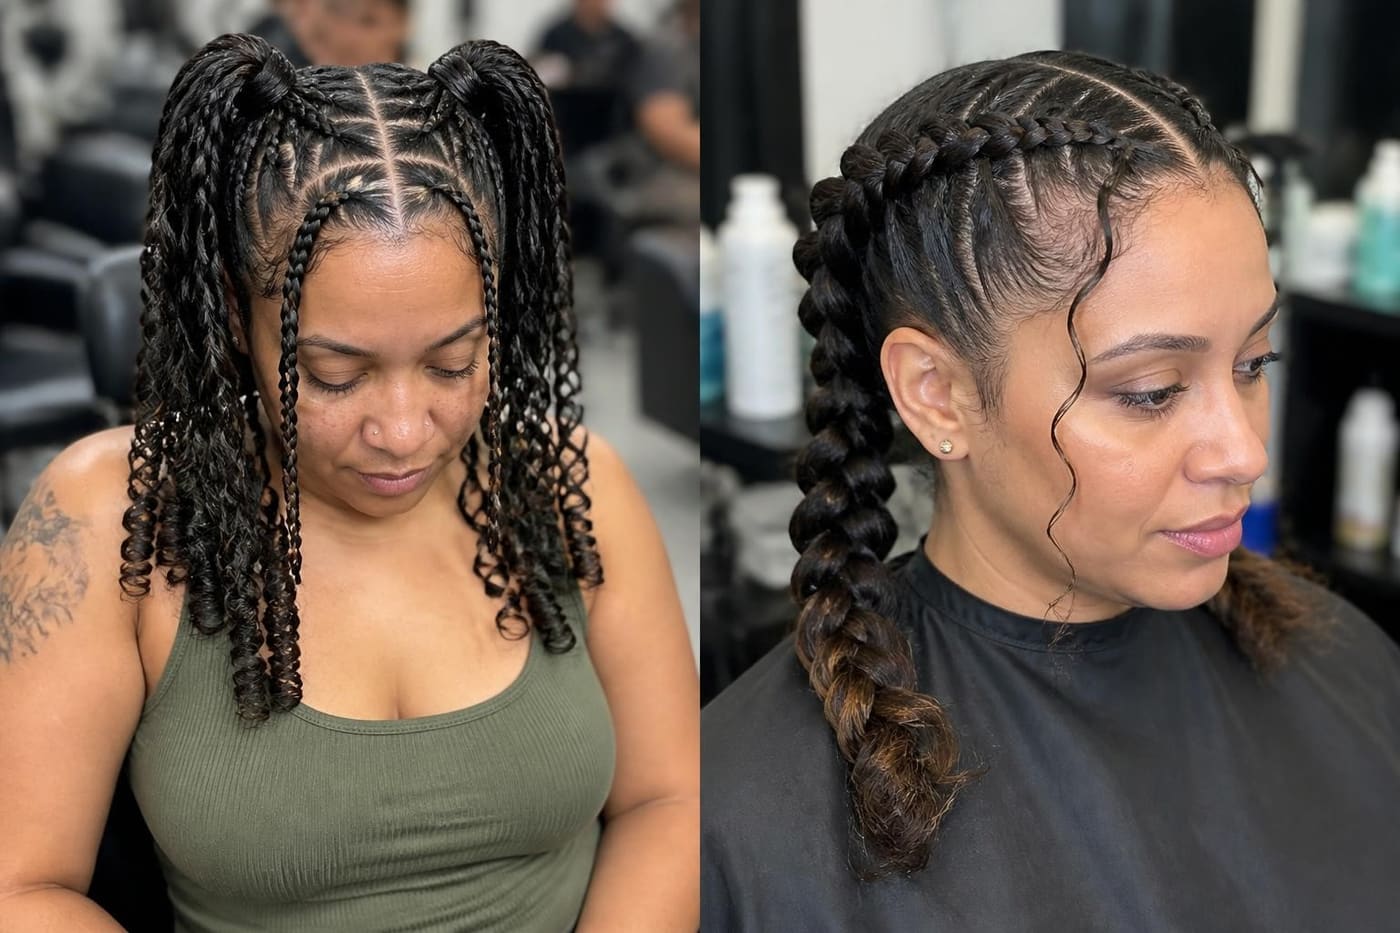
Part your hair down the middle, tie two ponytails at ear height, and braid each. The center part acts as a guide, so the sides come out matching more easily than a single braid in the center. It suits shoulder-length and longer hair, and it is a practical pick for gym sessions, school, or sleeping, since the braids stay out of the way. It looks younger than some people want for the office.
Allow around 12 minutes. Use a rat-tail comb for a clean part, and match the tension on each side by checking in a mirror. Pull each braid forward over the shoulder before you tie it off. They stay tidy for a full day and can stay in overnight with satin ties.
14. Messy Braid Ponytail With Face-Framing Pieces

This is the forgiving choice for beginners, since uneven strands look intentional. Braid a ponytail loosely, tug the edges to widen it, and leave a few pieces loose around your face. It suits any texture and most lengths past the chin, and it softens a strong jawline or a high forehead. It does not suit anyone who wants a neat finish for formal events or interviews.
It takes about 5 to 8 minutes. Use a texturizing spray before braiding to add grip, and pull out only 2 to 4 face-framing pieces so the look stays deliberate. A curling iron of 1 inch curls those loose pieces in about 2 minutes. It holds up for a day and looks better as it loosens.