How to Straighten Your Hair Perfectly: Easy Guide
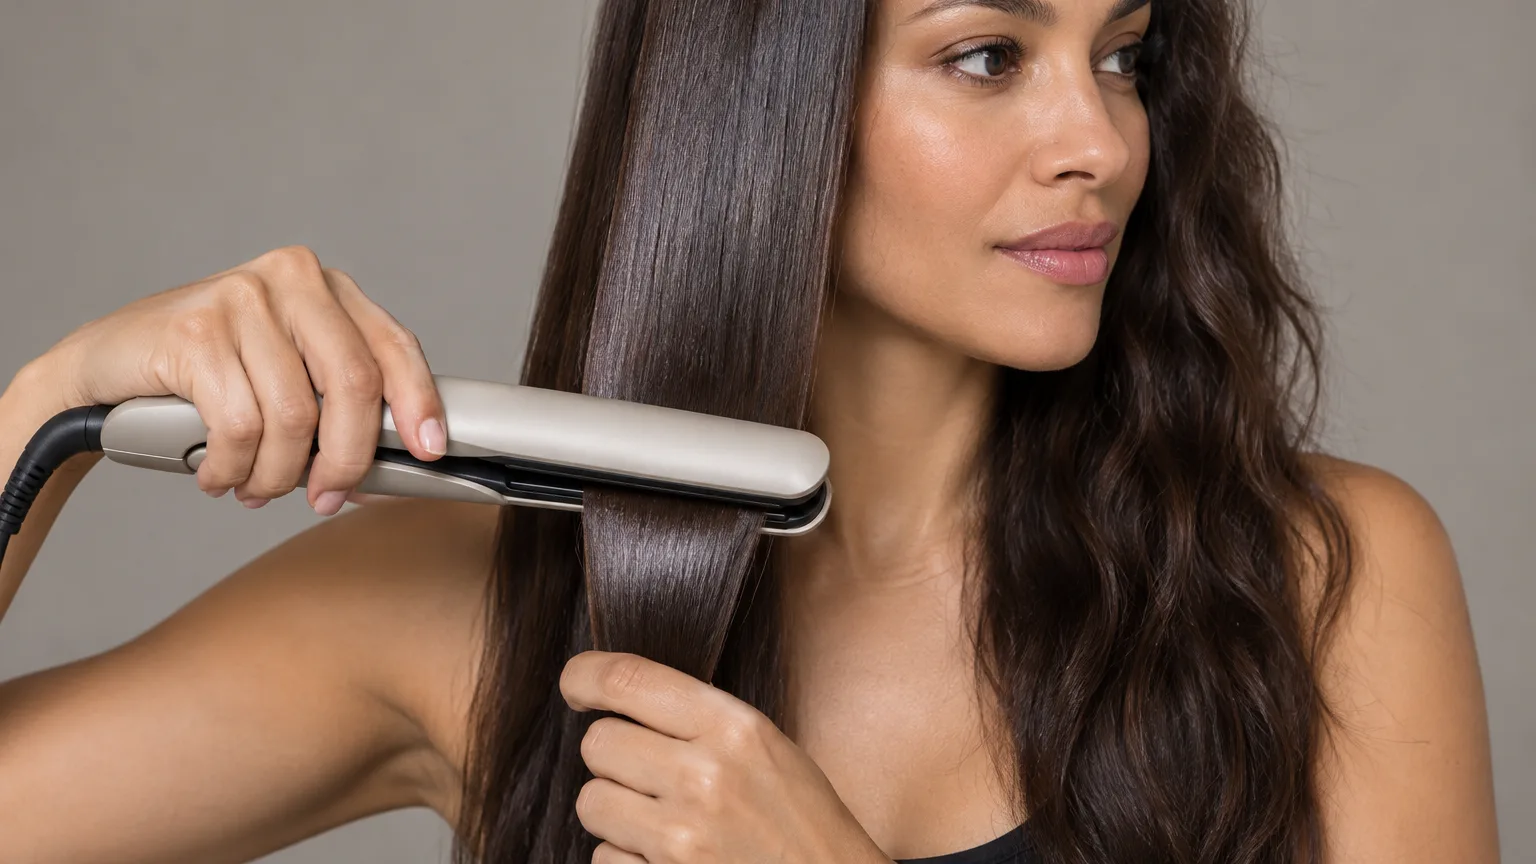
Smooth, straight hair from a flat iron comes down to four things: how you prep, how hot the iron is, how you section, and how many times the plates touch each strand. Get those right and your hair looks glossy and holds its shape. Get them wrong and you end up with frizz, dents, or ends that feel like straw.
Heat always does some damage. The American Academy of Dermatology lists flat irons among habits that weaken hair, and it advises using the lowest setting that works and heat styling less often. The goal of this guide is a sleek finish with as little heat as possible.
Below you'll find how to prep, which iron and temperature suit your hair type, a step-by-step method, and how to make the result last so you don't have to straighten again tomorrow. If you'd rather skip the iron entirely, see our guide on how to straighten hair without heat.
Table of Contents
Prep Your Hair Before You Straighten
Straightening works best on hair that is clean, fully dry, and free of heavy product. Oils, leftover dry shampoo, and styling cream cook onto the strand under the plates, which leaves hair looking greasy and can make it stiff.
Wash with a smoothing shampoo and conditioner the day you plan to straighten, or the night before.
Blot with a microfiber towel or cotton T-shirt instead of rubbing, which roughs up the cuticle and adds frizz.
Detangle with a wide-tooth comb from the ends up while your hair is damp, not with a brush.
Apply a heat protectant evenly from mid-lengths to ends while hair is still damp, then comb it through.
Heat protectant is the one step you shouldn't skip. It won't make heat harmless, but it adds a layer between the plates and your hair and cuts down on moisture loss. Sprays suit fine hair; creams and lotions work better on thick or coarse hair.
Choose the Right Flat Iron
The iron itself makes a big difference in how many passes you need, and fewer passes means less damage.
Plate Material
Ceramic plates heat evenly and are gentler, which suits fine, thin, or color-treated hair. Titanium plates heat up fast and transfer heat efficiently, so they work well on thick or coarse hair but can be too harsh on fine strands. Tourmaline is usually a coating on ceramic plates and helps reduce static.
Plate Width
A 1-inch iron handles most hair up to shoulder length and makes it easier to get close to the roots and bangs. For long or very thick hair, a 1.5- to 2-inch iron covers more hair per pass and cuts styling time.
Adjustable Temperature
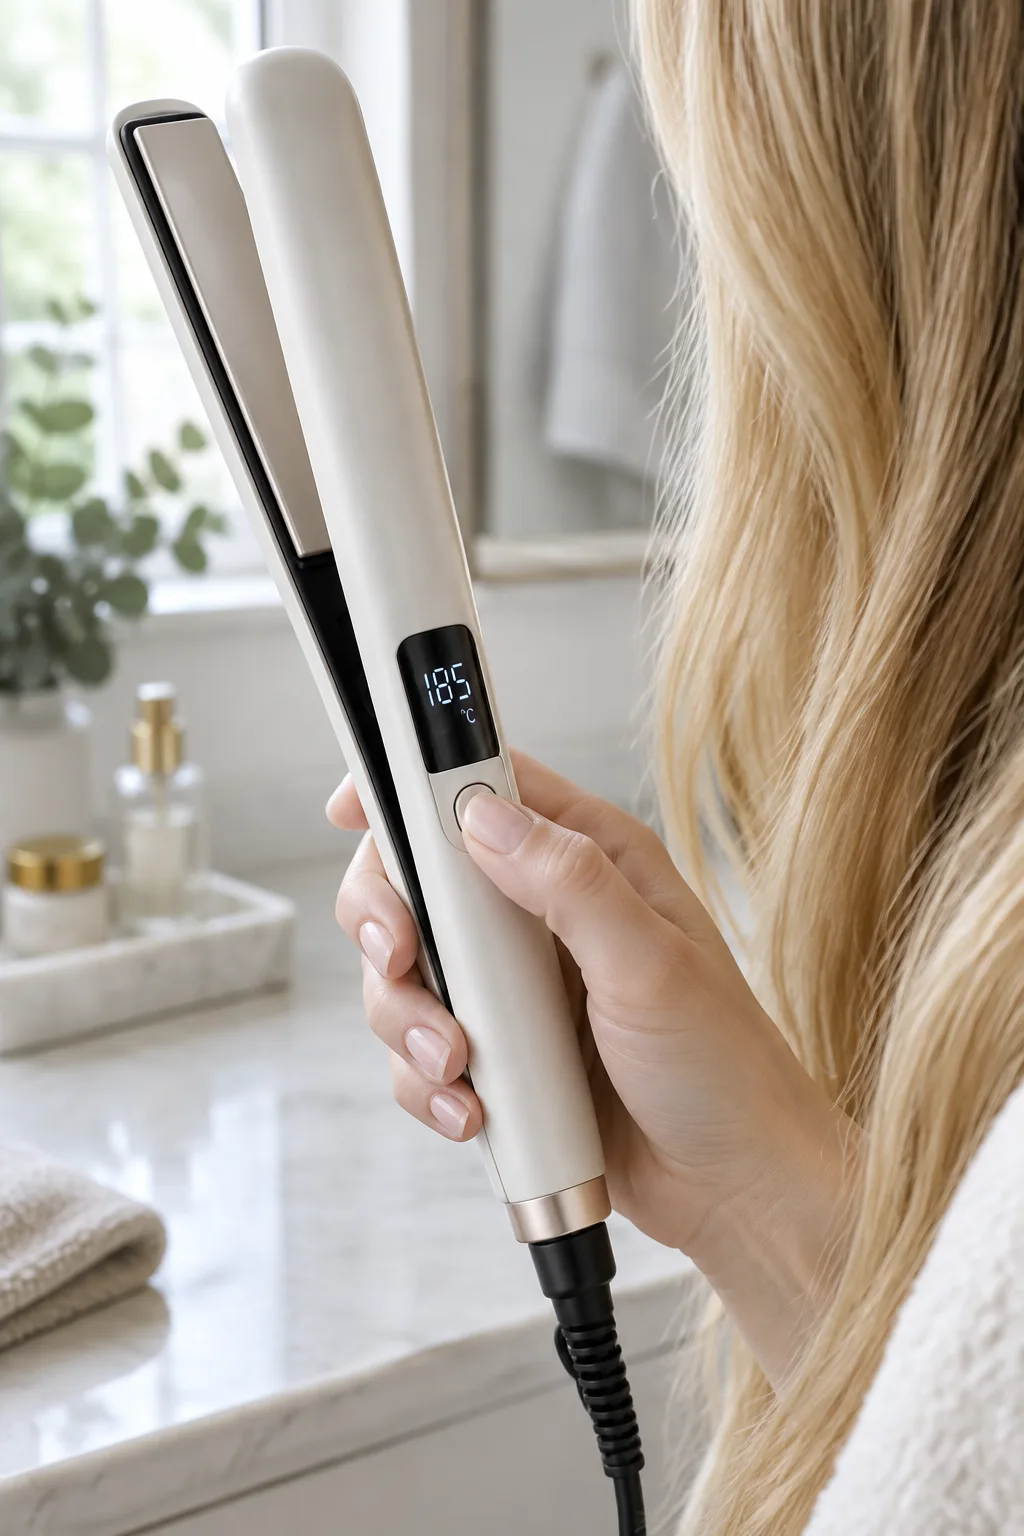
Pick an iron with a digital temperature display rather than a simple on-off switch or vague low-medium-high settings. You can't follow the temperature guidance below if you don't know how hot your iron actually is.
Set the Right Temperature for Your Hair Type
Start at the low end of your range and only go up if one slow pass doesn't straighten a section. These are common starting points; your hair's condition matters as much as its type.
Fine, thin, bleached, or damaged hair: about 250-300°F (120-150°C)
Medium-thickness, healthy hair: about 300-375°F (150-190°C)
Thick, coarse, or very curly hair: about 375-410°F (190-210°C)
Avoid the maximum setting on your iron, which is often 450°F (230°C). That heat is meant for quick passes by professionals and can scorch hair, especially if you hesitate on one section.
Step-by-Step: How to Straighten Your Hair
Step 1: Blow-Dry Smooth First
Rough-drying hair with the dryer pointed down the hair shaft until it's about 80 percent dry, then finishing with a paddle or round brush, does most of the straightening before the iron touches it. It means you need only one pass with the flat iron instead of three. Your hair must be completely dry before you move on; if you hear sizzling or see steam, stop, because that's water boiling inside the strand.
Step 2: Section Your Hair
Clip the top half of your hair up and out of the way. Work in sections about 1 to 2 inches wide. Smaller sections take longer but straighten in one pass; big sections need several passes and come out uneven. Start at the nape, then work up to the crown and front.
Step 3: Use the Chase Method
Hold a fine-tooth comb just ahead of the iron and glide both down the section together, with the comb leading. The comb keeps the hair taut and detangled so the plates press it flat evenly. This is called the chase method, and it's the most reliable way to get a smooth result in one pass.
Start about half an inch from the roots, clamp gently, and move down at a steady pace, roughly 2 to 3 seconds per 6 inches of hair. Clamping hard or pausing leaves dents and hot spots.
Step 4: Let It Cool, Then Finish
Hair sets its shape as it cools, so don't run your fingers through it or tie it back straight away. Once it's cool, smooth a pea-sized drop of lightweight serum or hair oil over the ends to add shine and tame flyaways. Keep it off the roots, where it will flatten your hair and make it look greasy faster.
Straightening Curly and Coily Hair
Curly and coily hair needs more prep and more care, because it's naturally drier and the curl pattern can be permanently loosened by too much heat.
Deep condition before you straighten to add moisture.
Blow-dry with a comb attachment on medium heat to stretch the hair before using the iron.
Use smaller sections, about 1 inch, and the chase method for a smooth finish in one pass.
If you want a silk-press finish on Type 4 hair, or you have heat damage from past straightening, a stylist experienced with textured hair is the safer route. Repeated high heat at home is one of the most common causes of curls that no longer revert.
Common Straightening Mistakes to Avoid
Straightening damp hair. Standard flat irons are designed for dry hair only.
Multiple passes on the same section. If one pass doesn't work, the section is too big or the hair wasn't blow-dried smooth enough.
Using the highest setting by default. Higher heat does not make hair straighter faster once you're past what your hair needs.
Straightening over product buildup. Old product burns onto the plates and your hair.
Dirty plates. Wipe a cool, unplugged iron with a damp cloth after every few uses to remove residue.
How to Make Straight Hair Last Longer
The longer your straight hair lasts, the fewer times you have to reach for the iron. Humidity and sweat are what bring waves and frizz back, so most of this is about keeping moisture out.
Finish with an anti-humidity spray on humid days.
Sleep on a silk or satin pillowcase, or wrap your hair in a satin scarf, to cut down on friction and creases.
Use dry shampoo at the roots on day two or three instead of washing.
Wear a shower cap when you shower, and keep hair tied loosely with a silk scrunchie during workouts.
Keep Your Hair Healthy Between Straightening Sessions
Straightening less often is the single biggest thing you can do for your hair's health. The AAD suggests using heat tools once a week or less. On days in between, heat-free styles like loose braids, low buns, or claw clips give your hair a break.
Use a deep conditioning mask once a week, and trim every 8-12 weeks to remove the ends that take the most heat. If your ends are already splitting, our guide on how to treat split ends at home covers what helps. For frizz that comes back within hours, see how to fix frizzy hair.