How to Curl Hair with Flat Iron: The Ultimate Guide to Gorgeous Waves

We all want beautiful, bouncy curls without spending hours at the salon.
The good news? You can achieve stunning waves and curls using a flat iron.
Yes, you read that right! This simple styling tool isn’t just for straightening hair anymore.
I’m going to show you exactly how to create gorgeous curls with your flat iron, and trust me, once you master this technique, you’ll never look back.
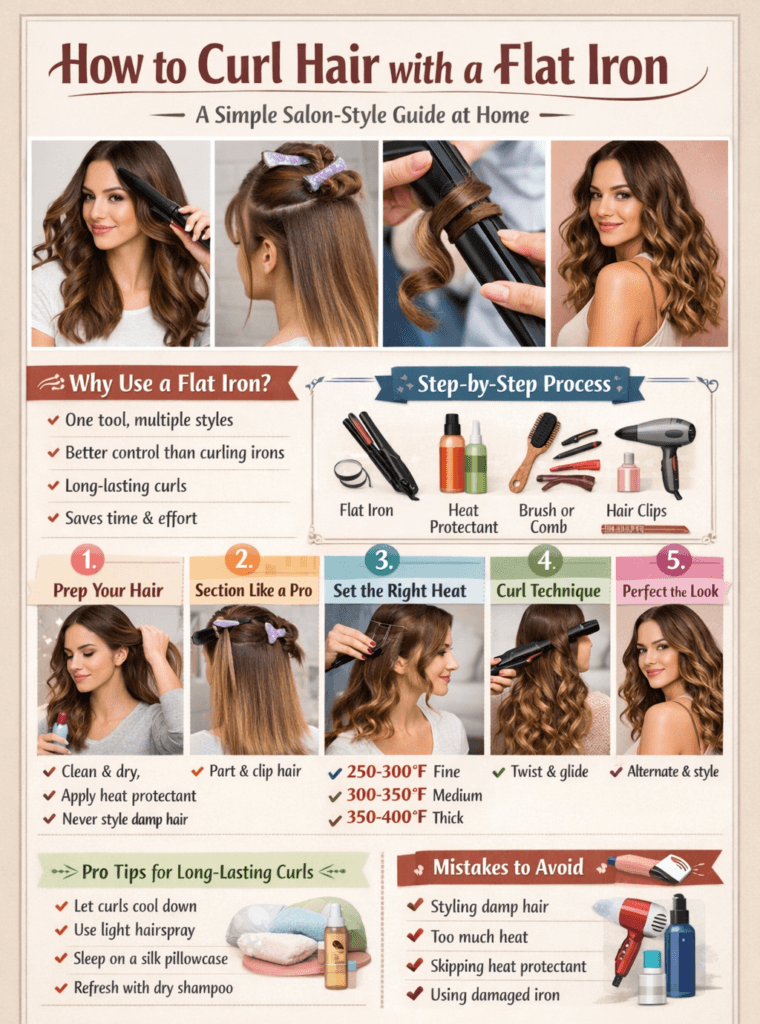
Why Use a Flat Iron for Curling Hair?
Before we jump into the how-to, let me explain why a flat iron for curling is such a game-changer.
First, most of us already have a flat iron at home, so there’s no need to buy additional styling tools.
Second, flat irons give you more control over your curls compared to traditional curling irons.
You can create tight spirals, loose waves, or anything in between. Third, the results last longer because the heat seals the hair cuticle more effectively.
I’ve personally found that using a flat iron takes less time than I expected, and the curls hold beautifully throughout the day.
What You’ll Need Before Getting Started
Let me walk you through the essentials before you begin:
- A quality flat iron with adjustable heat settings (ceramic plates work best)
- A heat protectant spray to shield your hair from damage
- A paddle brush or comb for detangling
- Hair clips to section your hair
- Hairspray for hold and longevity
- A blow dryer for initial drying
Having these items ready will make the entire process smooth and efficient.
Step-by-Step Guide to Curling Hair with a Flat Iron
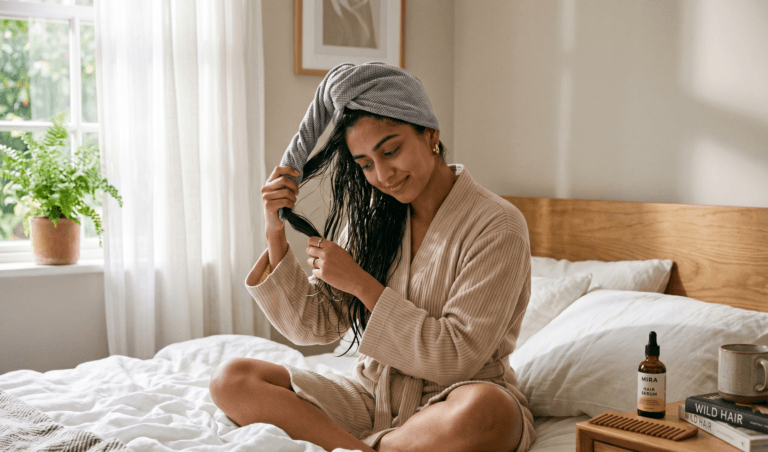
Step 1: Prepare Your Hair
Start with clean, dry hair. I recommend washing your hair the night before or that morning so it’s fresh and manageable. Here’s what you need to do:
- Brush your hair thoroughly to remove all tangles and knots
- Apply a heat protectant spray from roots to ends
- Make sure your hair is completely dry before applying heat
Damp hair can cause damage and won’t hold curls as well. Take time to blow dry your hair if needed.
Step 2: Section Your Hair Properly
Dividing your hair into sections is crucial for achieving even, beautiful curls. I usually create four to six sections depending on hair thickness:
- Start by creating a center part from forehead to nape
- Divide each side into two or three sections
- Use hair clips to keep unused sections out of the way
- Work on one section at a time for better control
This method ensures you don’t miss any hair and creates consistent curls throughout.
Step 3: Set Your Flat Iron Temperature
Not all hair types need the same heat level. Here’s my guide:
- Fine or damaged hair: 250-300 degrees Fahrenheit
- Medium hair: 300-350 degrees Fahrenheit
- Thick or coarse hair: 350-400 degrees Fahrenheit
Start with a lower temperature and increase if needed. Remember, higher heat doesn’t always mean better results. It can actually damage your hair and make curls fall out faster.
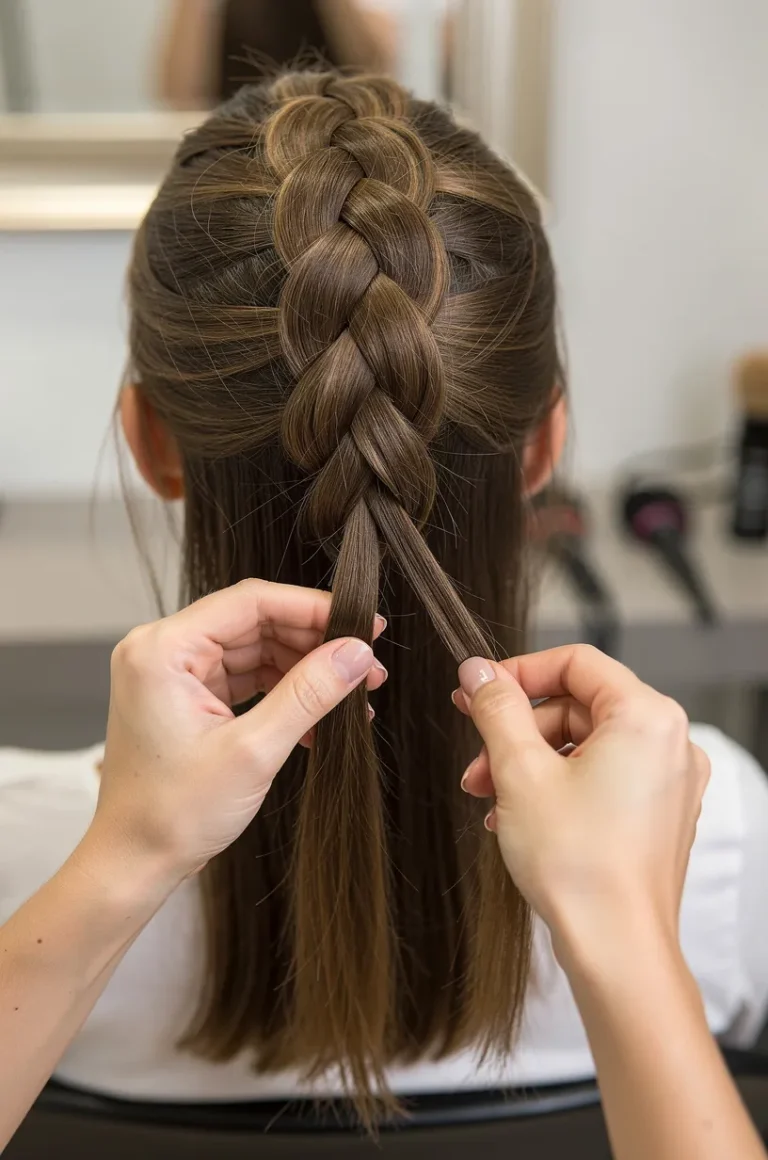
Step 4: Master the Curling Technique
This is where the magic happens. Follow these steps carefully:
- Take a one-inch section of hair from your first section
- Place the flat iron near your roots with the hair between the plates
- Twist the flat iron away from your face (or toward your face, depending on which direction you prefer)
- Slowly glide the flat iron down the hair shaft while maintaining the twist
- Release the hair and let it cool in your hand for a few seconds
The key is moving slowly and keeping consistent tension. Rushing this step will result in loose, undefined curls.
Step 5: Repeat and Perfect Your Pattern
Work through each section using the same technique:
- Alternate the direction of your curls for a more natural look
- Curl some sections away from your face and others toward it
- Make sure each curl is similar in size for a polished appearance
- Don’t skip any hair, including the layers underneath
I usually spend about 20-30 minutes on this entire process, depending on hair length and thickness.
Pro Tips for Long-Lasting Curls
I’ve learned several tricks over the years that really make a difference:
- Let curls cool completely before touching them, as they’ll set better
- Use a light hairspray while curling to help hold each curl in place
- Avoid running your fingers through curls immediately after styling
- Sleep on a silk pillowcase to preserve your curls overnight
- Use a dry shampoo the next day to refresh your waves
These small steps can extend your curl life from one day to two or even three days.
Common Mistakes to Avoid
Let me share what NOT to do based on my experience:
- Don’t use a flat iron on wet hair as it causes frizz and damage
- Don’t rush the process by using high heat and moving quickly
- Don’t curl hair that hasn’t been properly detangled
- Don’t skip the heat protectant spray, no matter how healthy your hair seems
- Don’t use a flat iron with damaged or cracked plates
Taking your time and using proper technique makes all the difference.
Final Thoughts
Curling your hair with a flat iron is easier than you might think. Once you practice the technique a few times, it becomes second nature.
The best part? You’ll have beautiful, long-lasting curls that look like you just left the salon.
Start with these steps today, and I promise you’ll be amazed at the results. Your flat iron is about to become your new best friend for creating gorgeous waves and curls!